Robert the Robot
Robert the Robot - now here's a long story. It began ages ago when I had was looking to discover really interesting things you can do with the Raspberry Pi, and I bought a Cam Jam Edukit #3 - the robotics one, as I had really enjoyed learning about LEDs, buttons and buzzers using the Edukit #1, and I really wanted to make a robot - I thought that'd be great fun - and I was right!
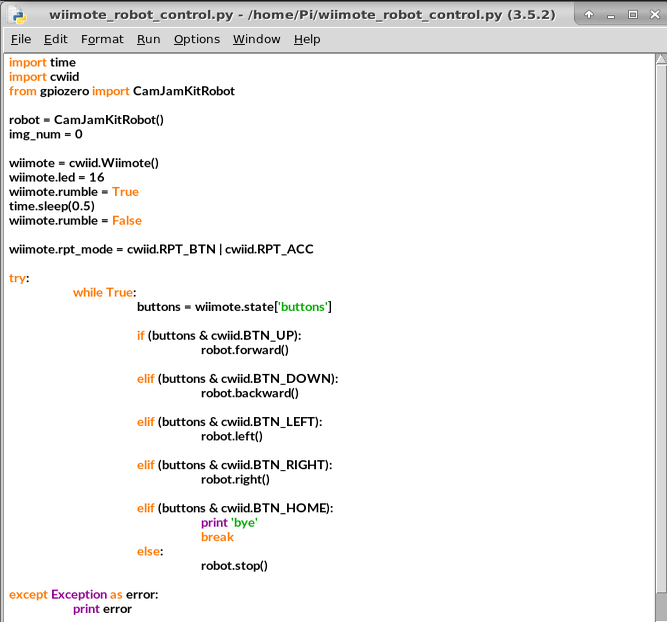
After managing to get it going with a bluetooth keyboard - to much excitement and enjoyment for everyone in the family - I began looking for new ways to control it. We have a wii, and a quick google showed my that you can easily connect wii remotes to the Pi, using bluetooth, and use them in python with the excellent cwiid library. I got to work, spent ages playing around with wiimotes and the Pi. It worked like a treat - but I still felt the robot was lacking things.
Code:

Firstly - a better chassis than the box the Edukit came in... of course, I could use just another cardboard box... or... a refitted lego technic truck! I was playing with the robot with one of my friends and we were looking for a better casing, when we noticed the yellow transport truck lego set looking unloved, and in need of a new use - so we set to carnaging it, and hacking it into a chassis that would both work, and look good, for the robot.
This. Was. Hard. And never mind any aesthetic problems - the robot and the chassis just weren't working together. Everything was falling apart - and the darn MOTORS WEREN'T STAYING ATTACHED! Every time it was used, it just wouldn't stay fixed. But we kept trying. Eventually, another of my friends had the brilliant idea of masking tape (such a great invention!), but unfortunately, the tape loosened over time - so not a permanent solution, unfortunately. But by now it did have a lot more capabilities, code wise, such as xbox controller control, obstacle sensing, and more!
An early version of Robert:
Then, I realised the robot didn't have a proper name. This just wouldn't do! So we named it Robert (said fast it sounds like robot), and continued battling on with the chassis issues. Then I got a 3D printer kit for chistmas, and everything changed!
When we finally got it built, as well as it being incredible for all sorts, I managed to design something that helped hold the motors together, and things were finally moving forward. Originally, the object was intended to be makeshift, and temporary, but, as it worked well, I got more involved with other projects, and designing a better version of the thing to hold the motors together wasn't a priority. Hopefully soon, I'll find time to make an ultimate awesome fixed version, but until then, it works, and I'm also working on a new robot, currently named RoboRobert2, which will have 4 motors, all controlled by servos to steer - more info when project is complete/nearly complete!